Magic Editor is Google's headline-catching upgrade to its Pixel 8 and Pixel 8 Pro.
The feature is far from perfect and it demands a little trial and error.
Here's a step-by-step guide on where to find it and how to get better results.
1. Connect to the internet
Magic Editor requires an internet connection at all times to work.
Changes you ask for are processed in the cloud - not on the Pixel 8's new Tensor chip - which means the feature might be added to older phones in future.
Before getting started, triple check you are connected.
2. Update the Google Photos app
The Google Photos app comes installed on every Pixel phone.
Unfortunately, it requires an update to unlock the Magic Editor upgrade.

That update can be pushed to the back of a long queue when setting up your new Pixel 8, so double check if one's available in the Google App store.
After a short download, you should be ready to start.
3. Select the photo you want to edit.
Open the Google Photos app and tap the image you wish to edit.

Once it's full screen, you'll be given four options at the bottom of the screen: share, edit, lens and delete.
Tap edit to start.
4. Locate the Magic Editor
You'll have plenty of options to edit your photo but you're not in the Magic Editor yet.
At the bottom left of the screen - just above the word 'cancel' - there should be a small round button that is constantly changing colour.

Tap that button and you're in.
5. Start smart
For the best results, you should make changes in a certain order.
Getting your steps wrong can result in some odd and unnatural-looking shots.
After a few hours of testing I'd recommend:
Erasing > Resizing > Sky adjustments > Portrait adjustments
To erase a person or object, tap or circle them and hit erase at the bottom of the screen.
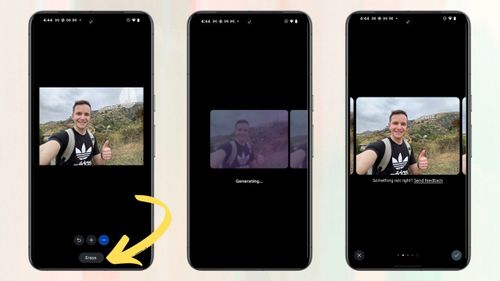
To resize a person or object, tap or circle them, tap and hold that object until it blinks. Then, pinch to resize and drag it to move to your desired position.

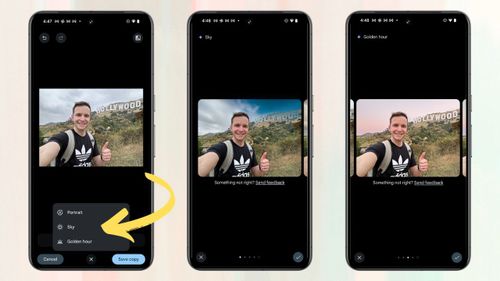
Magic Editor will automatically detect the sky in your photos and offer you two options via a colourful button at the bottom of screen: sky and golden hour. Select your favourite.
The same button will offer to artificially create a portrait mode shot.
6. Pick what looks best
After making each adjustment, Magic Editor will offer you four different "looks."
Select what you like best and move on to the next step.
7. Save a copy
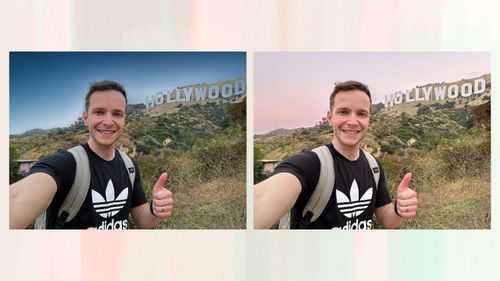
Save your photo by tapping the blue 'Save copy' button in the bottom right of the screen.
It will now appear in the Photos app (hopefully) next to the original image.
If you attempt to re-edit an image, you won't be able to undo changes.
You'll effectively be starting from scratch.
Knowing the limitations of Google's Magic Editor is critical to getting the most out of it.
The adjustments - which use AI - can be impressive but offer very little compared to Adobe's Photoshop.
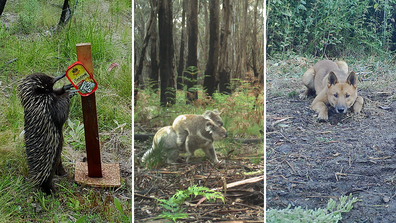
Massive AI project spots 'signs of hope' after bushfire devastation
Erasing objects remains its most impressive feature in our opinion.
Google has applied the same idea for videos with poor audio via Audio Eraser.
If you've just bought or are considering upgrading to a Google Pixel 8 or Pixel 8 Pro, check out our guides on how to use the new thermometer app.
Apple fans can read our guides on how to make the most of your iPhone 15: